Why move and share content?
Simplify how you share
You may have work-related content you’ll need to move from an individual account to a team account.
We recommend that you create spaces in the team account to share with your team. In just 4 steps you can share multiple notes, notebooks, and projects easily.
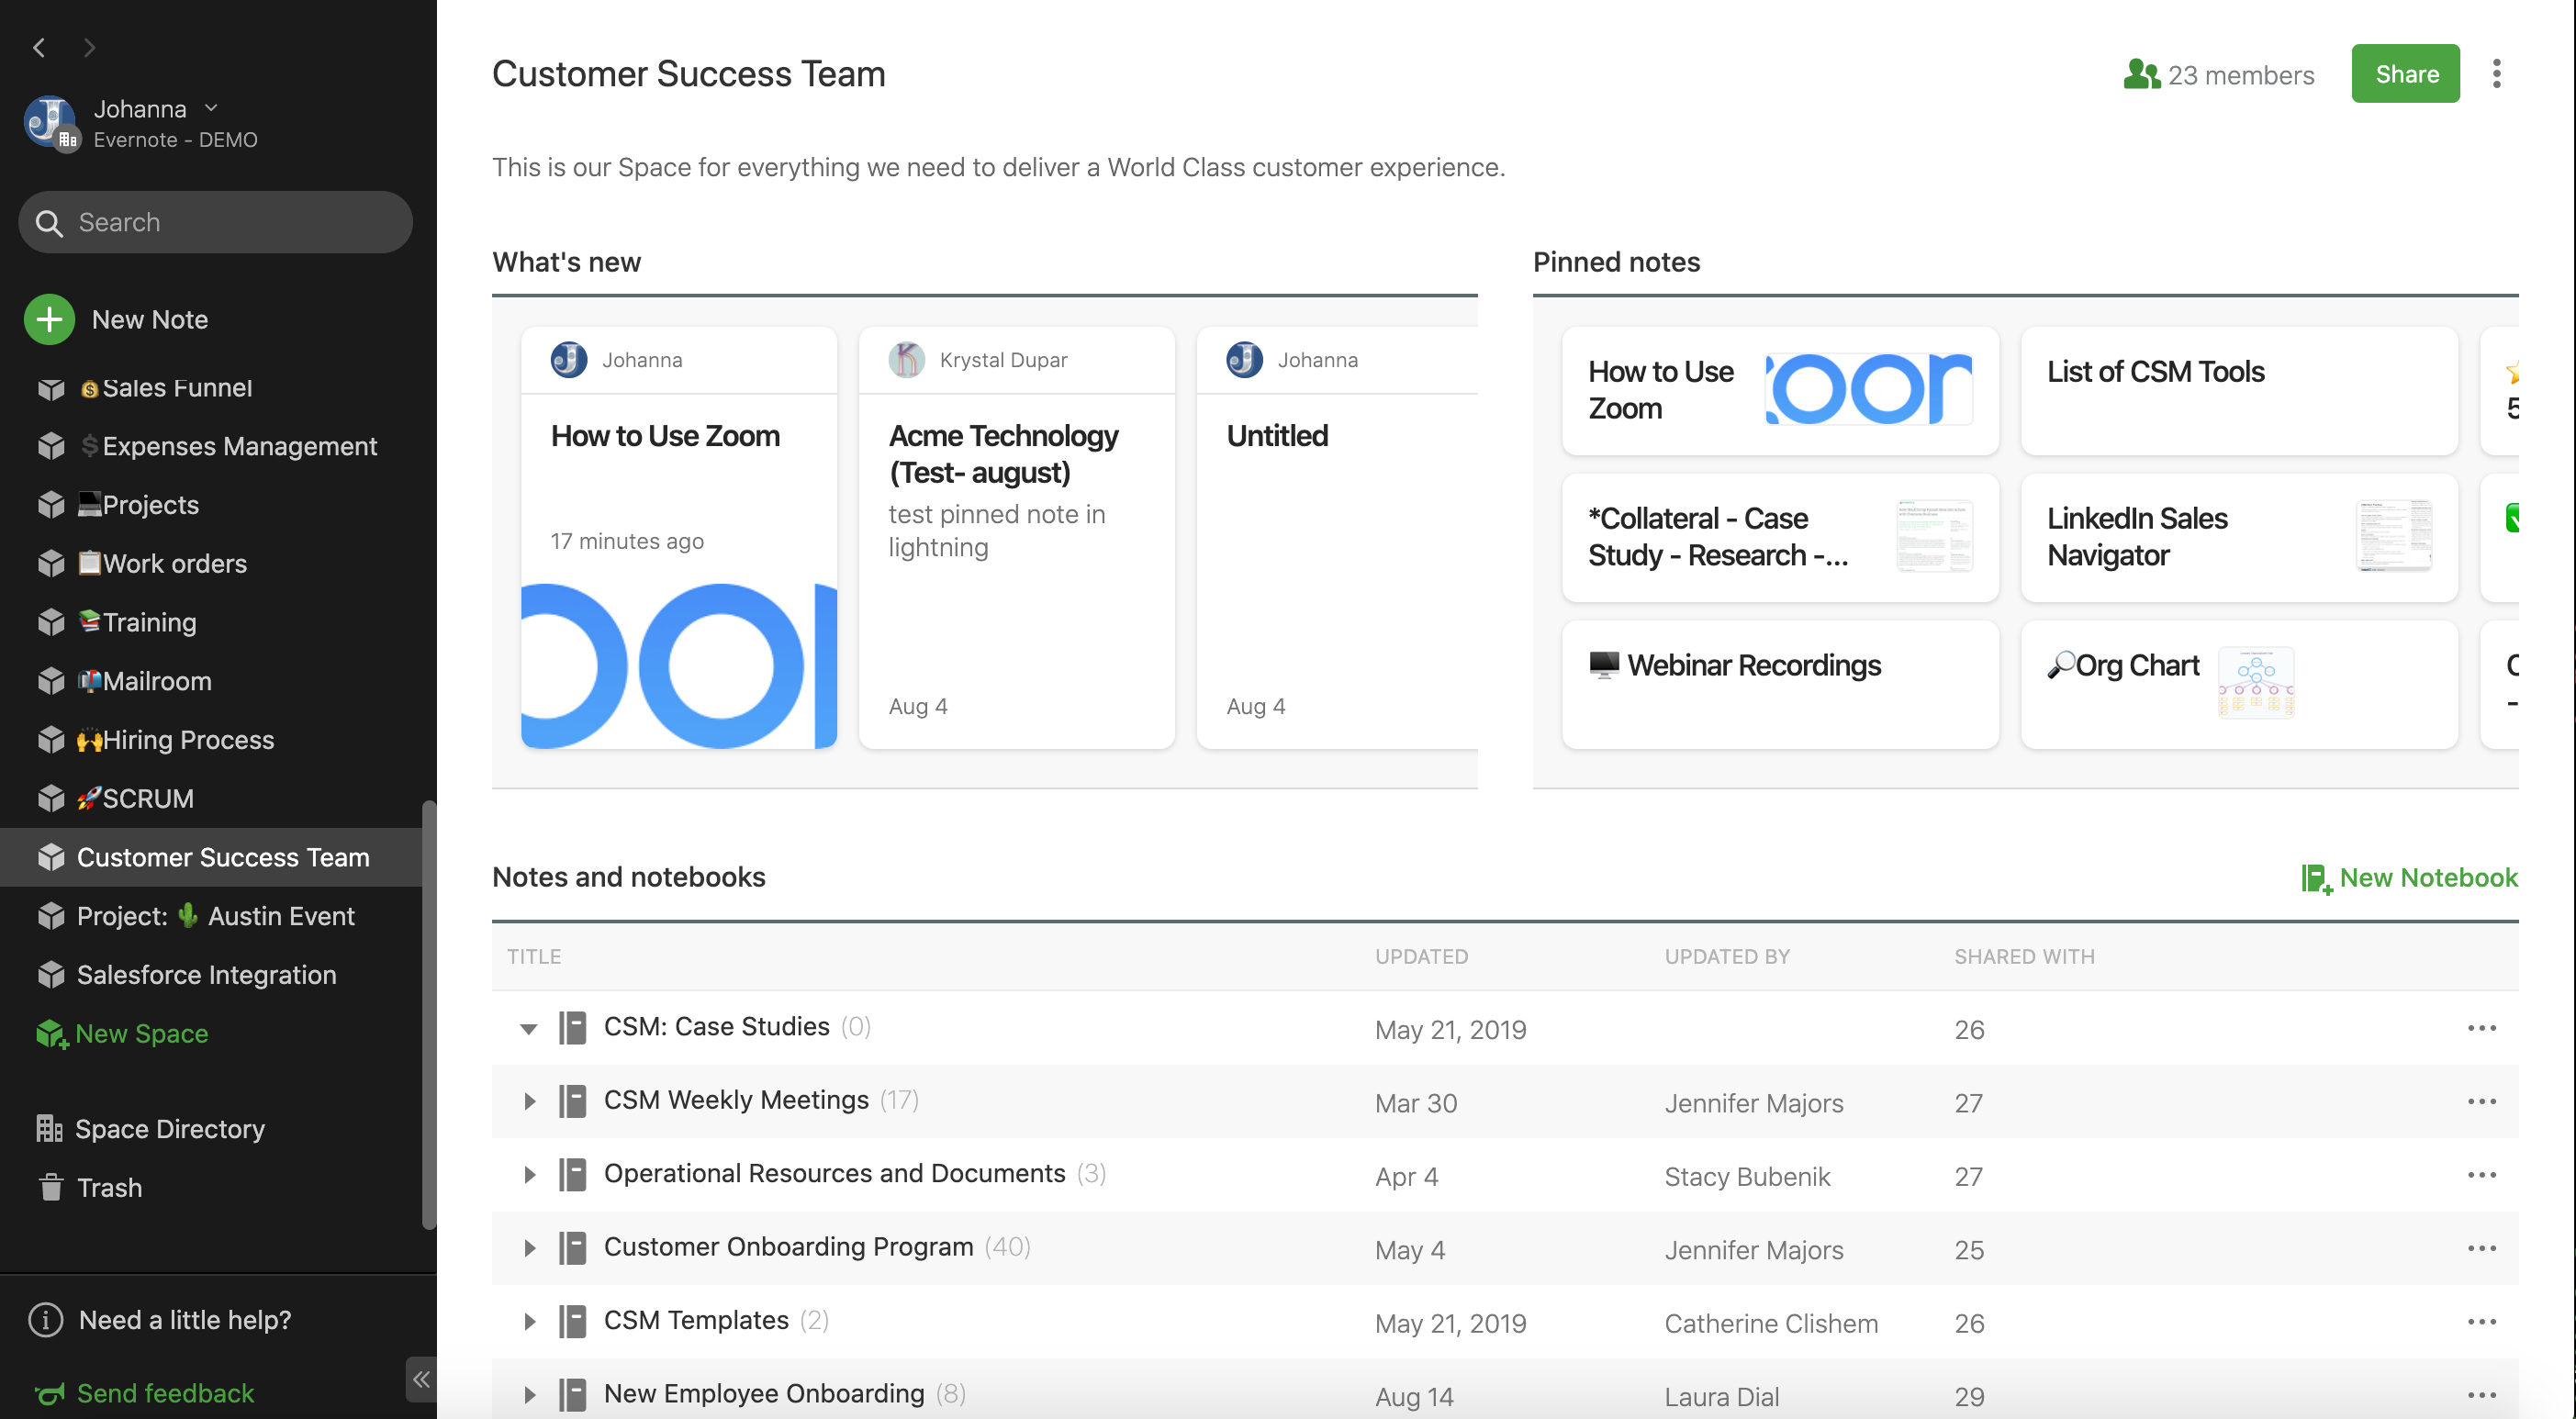
Here is a quick snap shot of what a space can look like below. Your space will include what's new, pinned notes, plus notes and notebooks you move here.
Step 1
Move content from your individual account to your team account
Moving notes & notebooks
- From any Mac or Windows desktop computer, log into the individual account that contains notes you'd like to transfer to a Teams account.
- Export your notebooks as Evernote XML (.enex) files from this account and remember which folder or directory you’ve saved it to. All your note contents and tags are saved to this ENEX file. You can do this by following the steps in our Evernote Help & Learning article Export notes and notebooks as ENEX or HTML.
- Sign out of the individual account you've just exported notes from and sign into a Teams account.
- Import the ENEX (.enex) files into the Teams account. You can do this by following the steps outlined in the Evernote Help & Learning article Import notes and notebooks.
Some things to keep in mind:
Here are some important things to keep in mind when exporting your content:
- You can only export 100 notes or 1 notebook at a time.
- Exporting is only available using the Evernote desktop app.
Step 2
Set up your space
Create spaces by team, project, or idea
See Getting started with Spaces to learn how to create a space.
Once you move content to the team account you’ll want to create a space and invite your team as needed. You’ll only have to invite a team member one time to a new space, as they will have access to all notes and notebooks that are saved in that specific space.
How to create a space and move your notebooks
- Click on New space.
- Enter the name for your space and a short description.
- Move existing notebooks in by selecting Move in notebooks > Notebooks (not currently in a space).
- Choose the desired notebooks and select Move.
Now you're ready for Step 3!
Note:
- Notes and notebooks can only live in one space.
Step 3
Move content to your space
Organize by space
Now that you've created a space for your team and projects - let's move your content over!
How to organize content
- Find other existing note(s) and/or notebook(s) you wish to move to your new space and share with the team.
- Click the More actions button (three dots) next to the notes or notebooks and select Move....
- Find the space you wish to move this selection of note(s) and/or notebook(s).
- Select Move.
Now you're ready for Step 4!
Step 4
Invite your team to share your content
You're almost done!
Now that you've moved content to your space, you can easily share the space with your team.
Team members will have access to ALL notes and notebooks that are saved in that specific space. No more having to share multiple notes and notebooks with the entire team.
How to invite your team to a space
- Click on Share.
- Enter the name of the person you would like to share the space to.
- Choose the desired sharing permission for your team member.
- Select Invite.
ALL DONE!
Notes:
- Now all existing and new content will be visible to all members of the space.
- New members will begin to see new spaces on their left navigation menu.
- Use the account Directory to find existing spaces to join!
Did you know?
![]()
Creating templates will help your team save time. To learn how, please check out the following articles:
![]()
Naming conventions can help make your project space even more efficient. An organized naming system will help you see relevant information with just one glance.
To learn more about the benefits of a naming convention and how to easily implement such conventions, please click here.
![]()
Web Clipper allows you to capture full-page articles, images, selected text, important emails, and any web page that inspires you.
Collaborative editing lets you and your team edit notes simultaneously, allowing everyone to work together more efficiently and maximize productivity.
To learn more, visit Collaborative Editing Overview.
For additional questions, please contact your Customer Success Manager. If you don’t have a Customer Success Manager, you can always email your questions to CustomerSuccess@evernote.com.
Updated