Organize your Customers
You may be sorting all your clients in your Evernote account, so having a structure in your notebooks and notes will bring order to your content and allow you to find the required information quickly.
This workflow can be created no matter what type of account you have, but we recommend using Evernote Business since the Spaces feature will allow you to have additional benefits.
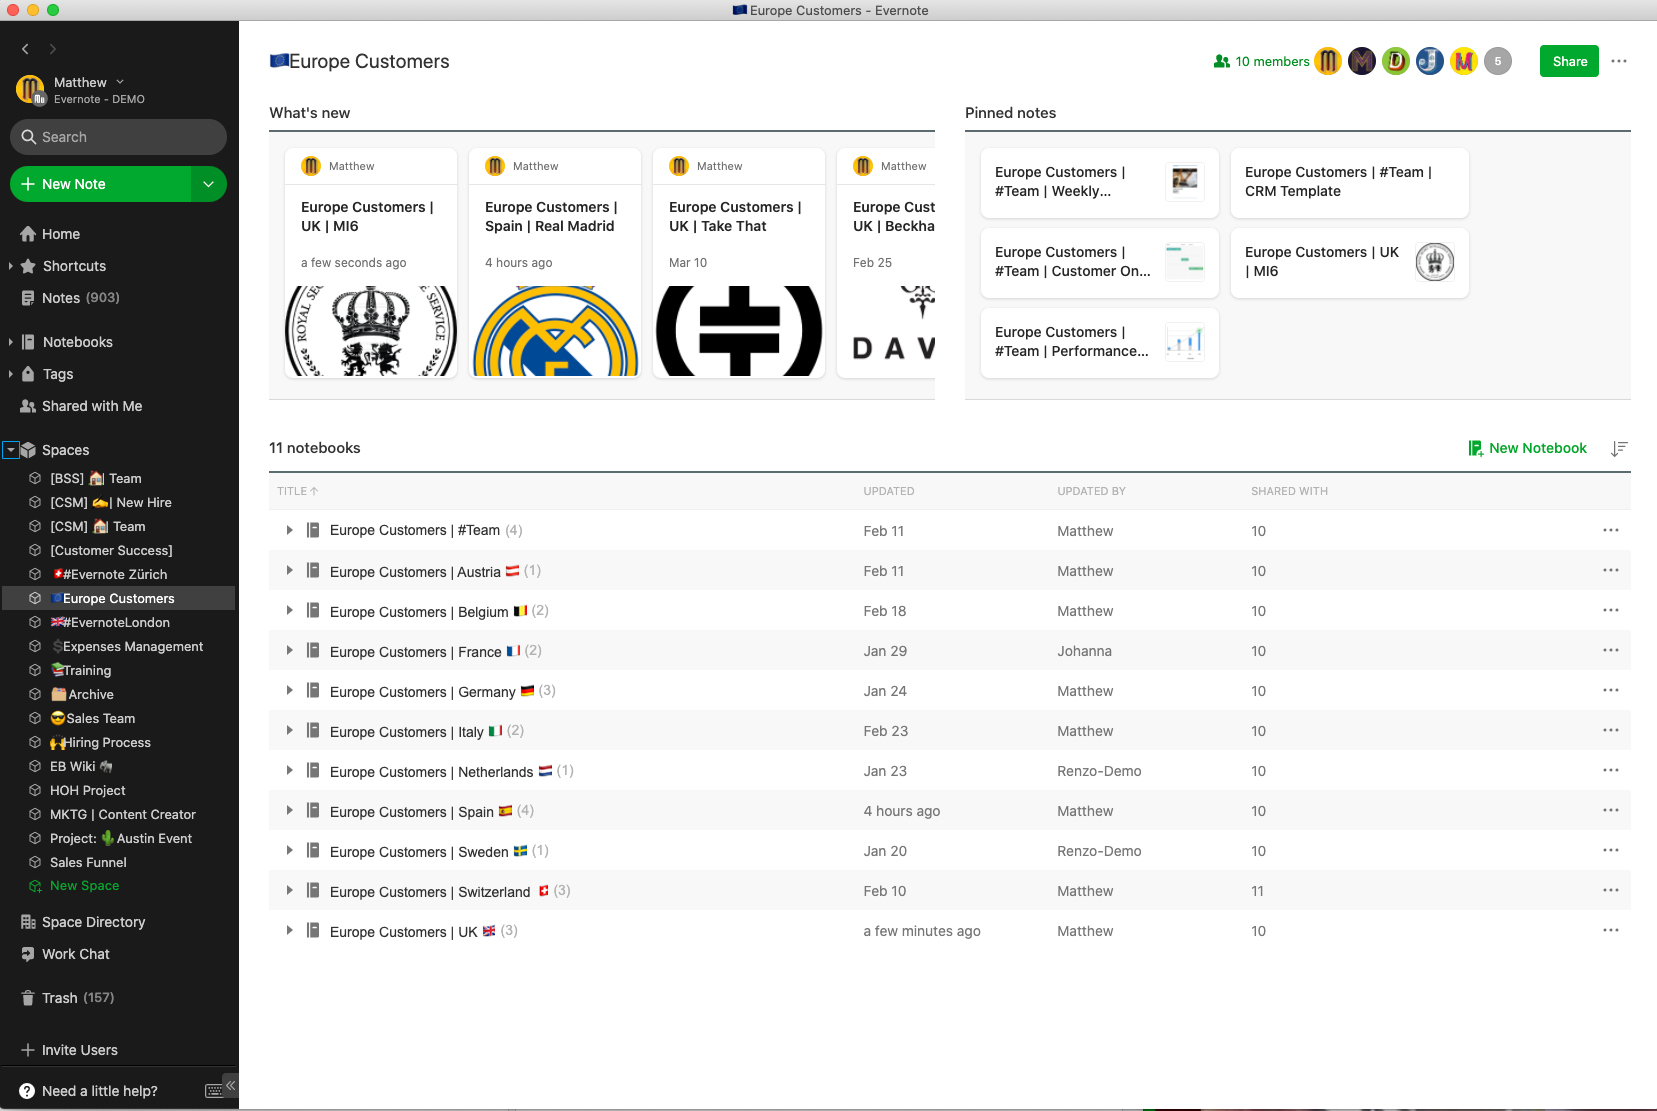
Here you can see how the Space can look like. This Space features the What's New section, Pinned Notes, and the list of notebooks and notes.
Step 1
Space Organization
CREATE SPACE FOR YOUR CUSTOMERS
Before creating our Spaces and Notebooks, it is very important to know how we want to organize our clients because we will use naming conventions to introduce them in the title of our Space, for example by territory, by industry, by language, etc. For the purposes of the video in this article, we will choose to organize our customers by country.
To choose the naming conventions I recommend you use information that will be fixed, that's why for this case, I chose the name for this Space "Europe Customers", because the content of this space will be restricted to customers based in Europe.
Now we can create our Space called Europe Customers.
Step 2
Notebooks Organization
CREATE A NOTEBOOK PER COUNTRY
The same reason will be for the creation of notebooks. Here we have to use a naming convention for our notebooks, but taking into consideration the previous step, you can use separators or hyphens for your naming conventions. So in the case of our European customers, the name of the notebooks will be the same as the one we chose for our Space, followed by the specific country: Space Name | Country Name.
Now we can create as many notebooks as countries where you have customers.

Notes:
- We recommend our Evernote Business users to create Customer Spaces because it will make it easier for team managers to share notebooks with the rest of the team and keep track of your customers' progress.
- It is recommended that our Evernote Premium and Basic users use the naming convention as shown above, because by keeping this order the notebooks will be together in your list.
- All Evernote users, regardless of their subscription level, will benefit from being able to find notebooks together and group them into stacks. This same benefit will be available to those on your team to whom you have shared your Space or Notebooks.
Step 3
Notes Organization
NAMING CONVENTION FOR YOUR NOTES
To keep order in your notes you also need to use naming conventions for the title of your notes. While it is true that the title serves to indicate the topic of the content found in a note, you can also use it to order your content and find the information quickly.
Divide the note title by including the names of your Space and/or Notebooks followed by your client's name, this will be your naming convention for your notes.
This naming convention in your notes will help you find your information more easily so you can add other information such as the name of your point of contact, or the name of the company manager, for example, Europe Costumers | Switzerland | ABC Company | John Smith.
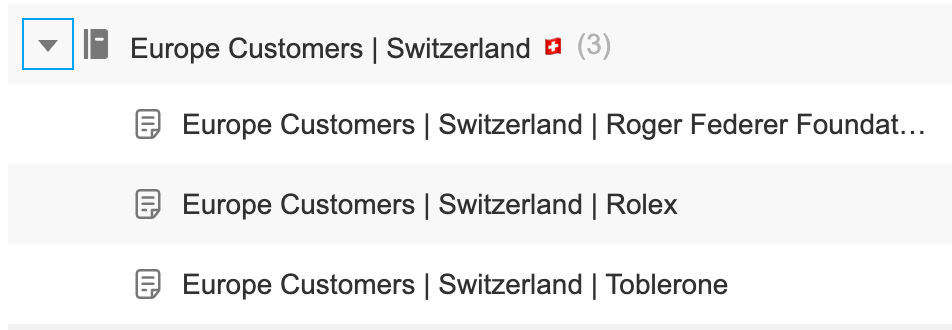
In the case of our European customers, our naming convention for notes is Europe Customers | Country | Company name.
Start creating the notes for each client within the corresponding country notebook, and remember to use your naming convention for the title:
SEARCH WITH INTITLE
To find your information quickly, you have at your disposal an operator that will allow you to search within the title of your notes and this operator is called "intitle:".
Go to the search field and type this intitle followed by a colon and then the word that is in the title, for example if you want to find the notes that contain Switzerland in the title, you should search like this intitle:Switzerland.
As you can see you can use this operator to search for the name of your client that you added in the naming convention created in the previous step.
If you want to search for more than one word with the intitle operator, you must use quotation marks after the colon, for example, if we want to search for our client John Smith, we can search only intitle:John, but if we have many clients John and we need to include his last name, then we will search for him like this intitle:"John Smith".
Step 4
Your team's notebook
To maintain uniformity in the work with the rest of your team, we suggest you create a notebook for your team, where you can share resources with the rest of your team. Remember to respect your naming convention. For example Europe Customers | #Team.
I have added # before Team so that it is always at the top and does not get mixed up with my customers' notebooks.

Here you can include the template you want your team members to use to enter your customer information. Add at the top of the template the instruction for your team to add your naming conventions.
Your team can access the note containing your template and save it in their template gallery.
Step 5
Share your content with your team
EVERNOTE BUSINESS
Invite the rest of your team to the Space you have just created by granting them the permissions you consider necessary.
EVERNOTE PREMIUM & BASIC
Share all the notebooks you created with the rest of your team giving them the permissions you consider necessary.
YOU ARE READY!
Did you know?
![]()
Creating templates will help your team save time. To learn how, please check out the following articles:
![]()
Naming conventions can help make your project space even more efficient. An organized naming system will help you see relevant information with just one glance.
To learn more about the benefits of a naming convention and how to easily implement such convention please click here.
Updated