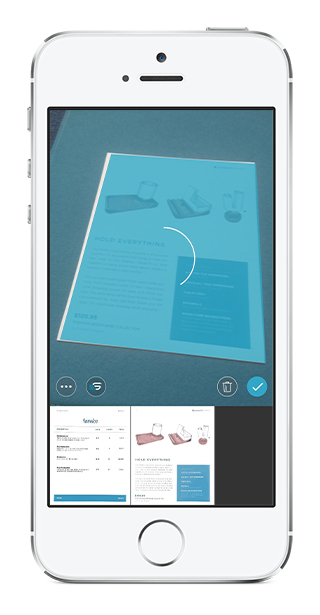
- Hold the camera directly above, and as close as possible to, the object to be captured. Make sure the edges are in view and aligned to the edges of the screen. Scannable automatically detects the document.
- Once you see the blue rectangle on the detected document, hold the camera still until the countdown timer (animated circle) displays the captured image.
- Scannable automatically crops and enhances the image by adjusting the brightness, contrast, and clarity.
- Tap an image in the scan tray to see an enlarged, more detailed view of the image. From this screen, you can give your image a name.
Manual capture option
In manual capture, you decide when you're ready to capture an image, without waiting for Scannable to detect the document. Tap the three dots button to choose the capture mode.Tap the 'x' below the shutter button to disable manual capture and return to automatic capture.
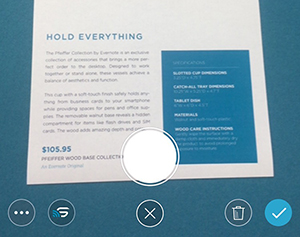
Tip: In manual capture, you'll want to hold your device as still as possible as you tap the shutter button to capture the image.
Scanning tips
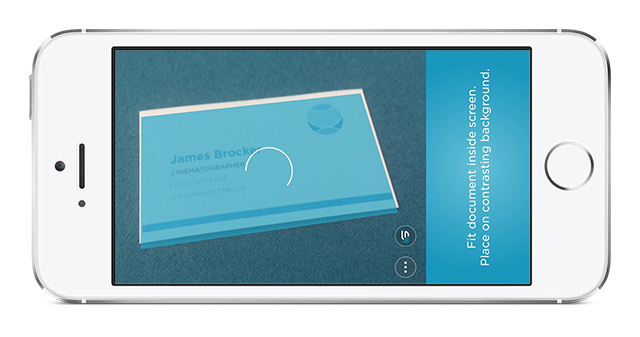
Documents and business cards will vary in size, color, and style, so consider these tips for optimal results:
- Use automatic capture to avoid blurred images, often associated with slight camera movements when tapping the shutter button.
- Automatic capture works best when items are placed on a contrasting background. Place light papers on dark backgrounds and dark papers on light backgrounds.
- For better quality, capture images in good, even background light between many lights or in indirect light. For glossy cards, tilt the phone at an angle to avoid glare from the flash, should you choose to use flash.
- While looking at your screen, center the image and align the document's edges with the edges of the screen by moving closer or further away from the document.
- Turn the device so it is in landscape mode rather than portrait (sideways instead of up and down).
- It's best to tilt your camera at an angle no more than 20 degrees from the surface the document is placed on.
Updated